The WP Announcement plugin offers an array of customization options and features, providing website owners with a powerful tool to engage effectively with their site visitors. Notably, it allows for the inclusion of a countdown timer, enabling the setting of deadlines for time-sensitive promotions or events. Furthermore, the option to conceal the announcement on mobile devices is a crucial feature, ensuring a seamless user experience for mobile visitors.
With the SP Announcement plugin, you can easily address any potential overlap issues with your website’s header or navbar, incorporate a countdown timer within your notice bar, specify precise deadlines for announcements, and more. This versatile plugin is an ideal choice for promoting exclusive deals, conveying vital information, and engaging with your visitors. Its responsiveness, user-friendly interface, and effectiveness make it a valuable addition to your website toolkit.
Overall, it is a versatile and valuable tool for website owners looking to communicate important messages or promotions to their visitors.
Follow the following steps to install and active WP Announcement —>
2. Login to the admin panel of WordPress.
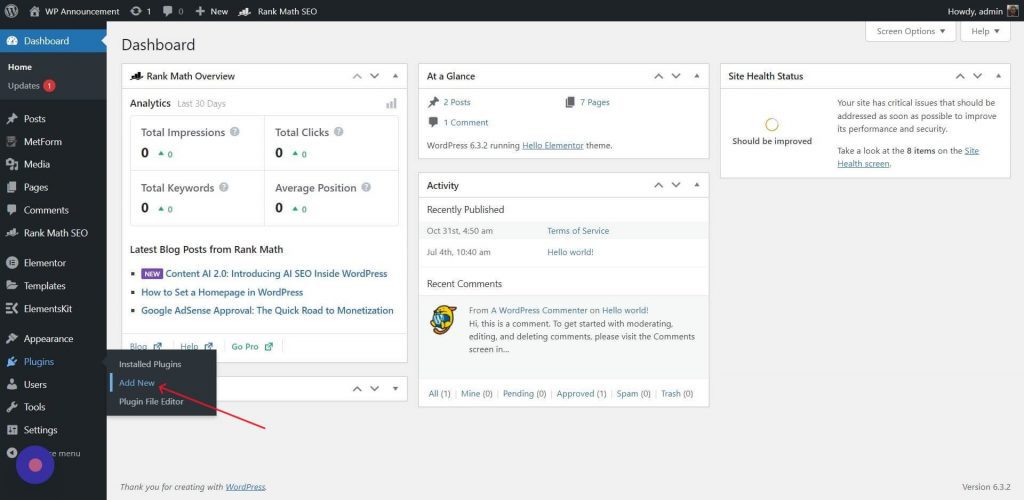
3. Navigate to Plugins → Add New.
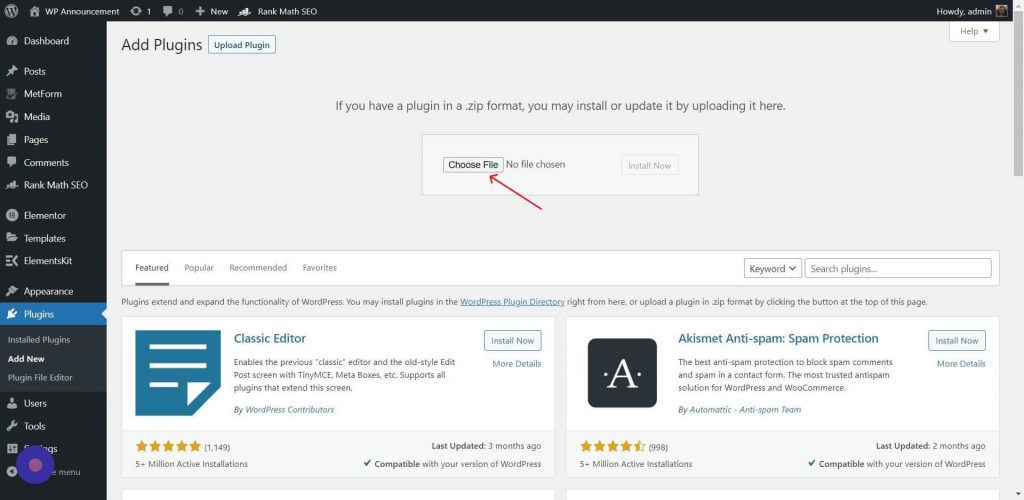
5. Upload the plugin zip file
This will complete the installation and activation process of the free plugin. If you have purchased the pro version, you can download it from your plan details page and follow the same steps to install the pro version of the plugin too.
After that, you will see a new menu in your dashboard called Announcements where you will find all the options of the plugin.
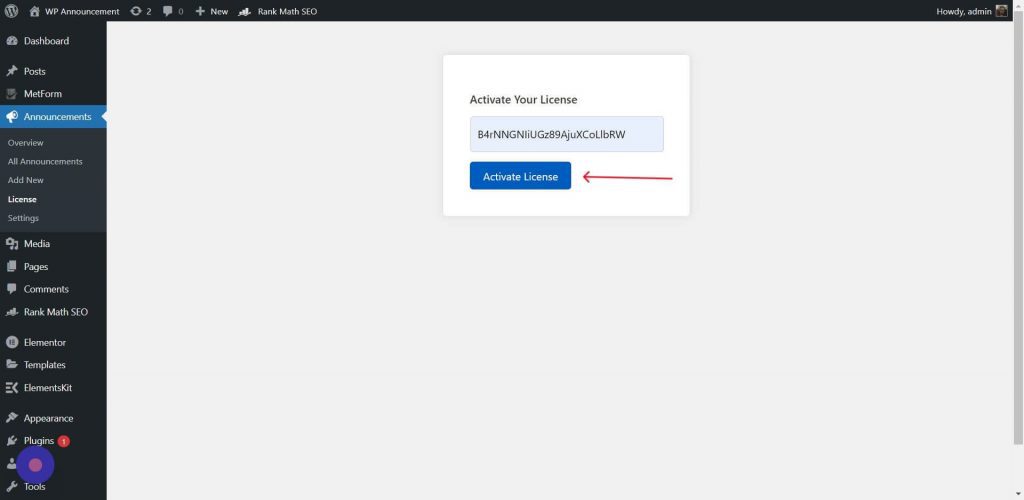
2. Navigate to Announcements → License.
3. Paste it into the license key field and click Activate License.
4. That’s it! You have successfully activated the pro license. Now, you can access all the pro features.
Since you already have installed WP Announcement plugin, let’s explore how to use it…
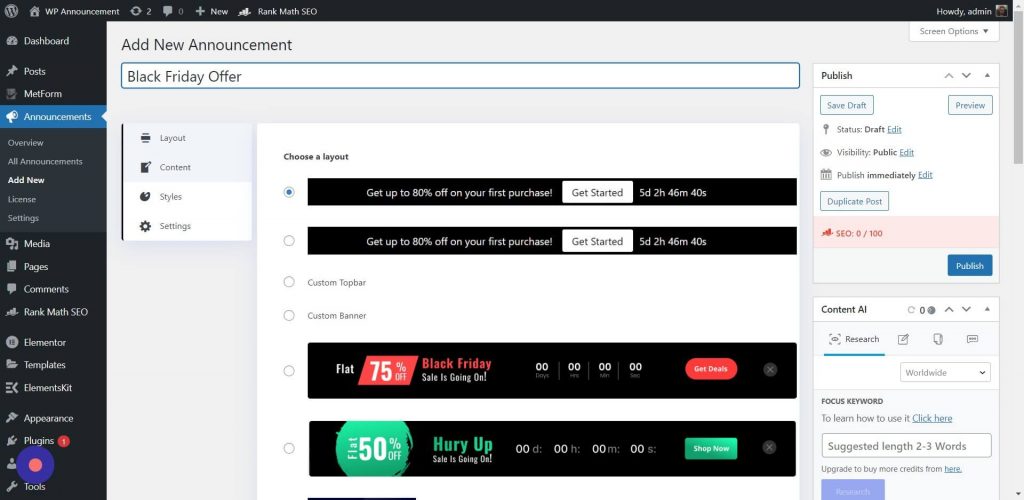
1. Navigate to Announcements → Add New.
2. Set a meaningful name/title for the announcement
3. Choose a Layout that you want to use for the announcement.
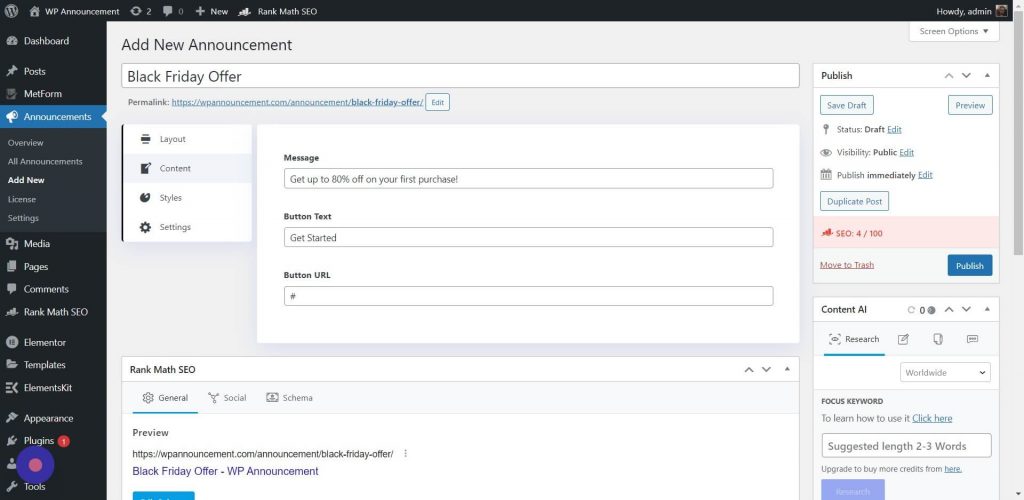
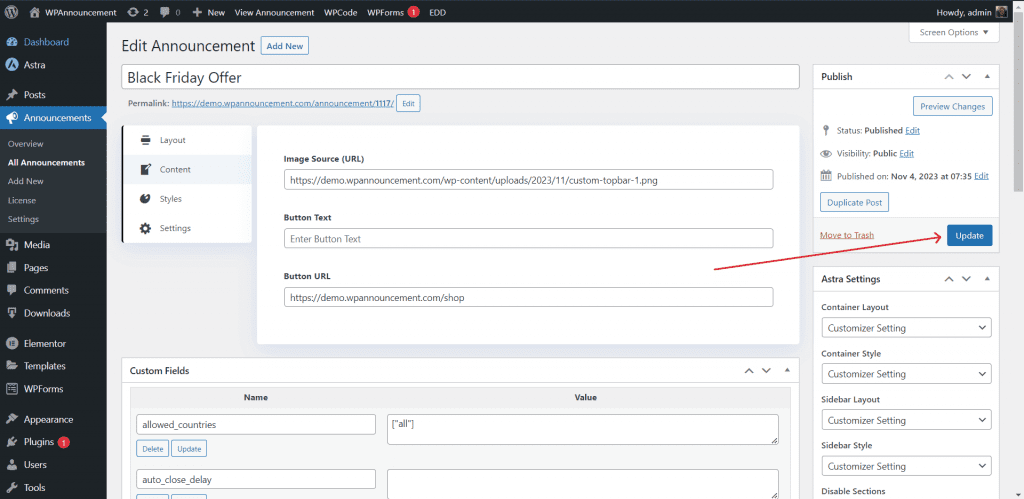
4. Navigate to Content tab and fill the contents for your announcement.
Message: You can add any message that you want to show in your selected layout.
Button Text: Text for the call to action button.
Button URL: Specify the destination URL that users will be redirected to upon clicking the button.
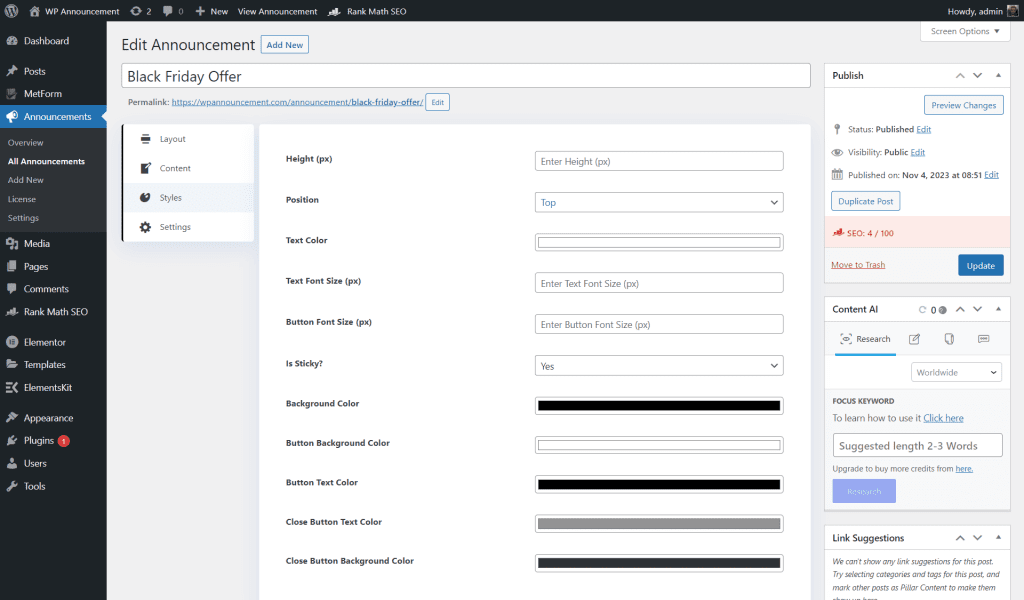
5. Navigate to Styles tab and customize the appearance of your selected layout.
Height: Since we are using a topbar, you can set a custom height if you like and the unit is in pixel. Position: You can select the position of your layout element.
Is Sticky: Specify whether you want to make it sticky on the screen or not.
There are more customization options such as text color, button color, background color and many more. There might be different different styling options based on your selected layout.
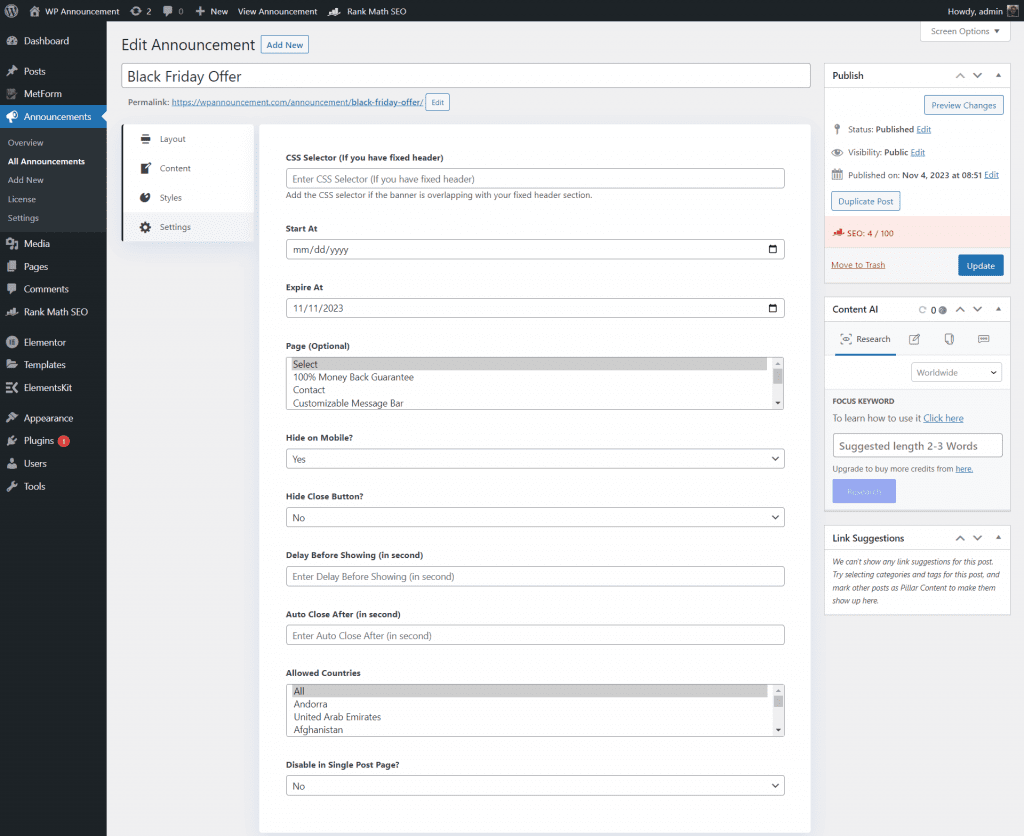
6. Navigate to Settings tab and apply the appropriate settings for your announcement.
CSS Selector: If you have a sticky/fixed header or navbar in your website, you can add the selector of that element here to avoid overlapping.
Start At: You can schedule future announcement by just defining a date here and the announcement will only be visible from that date.
Expire At: Specify when this offer/announcement will get expired. The countdown will be shown based on this input date.
Page: You can restrict the announcement to specific pages. As a result, it will only be visible to those pages only.
Hide on Mobile: You can define if it should be visible on mobile devices or not.
Hide Close Button: Define whether you want to show the close button or not. If you show the close button, the visitor can close the announcement by clicking on it.
Delay Before Showing: If you want to set any delay before showing the announcement to the visitor after they visit the site/page, you can do that using this option. If you set a delay of 5, the announcement will be visible to the visitor after 5 second of visiting the site/page.
Auto Close After: If you want to hide the announcement after certain time, you can set the time in seconds here. If you set 5 as a value in this field, the announcement will be hidden automatically after 5 seconds.
Allowed Countries(Pro): If you want to restrict the announcement to certain countries, you can select the countries here. Your announcement will only be visible to the visitors of the selected countries. If you don’t select anything, it will be visible visitors of all countries by default.
Disable in Single Post Page(Pro): Define whether to show this announcement in your blog post’s details page or not.
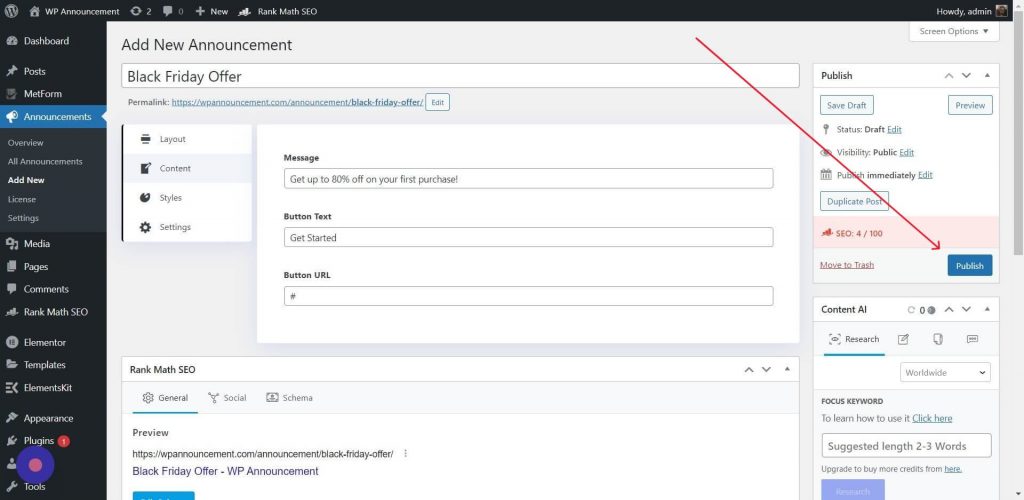
7. Click Update to save & publish it.
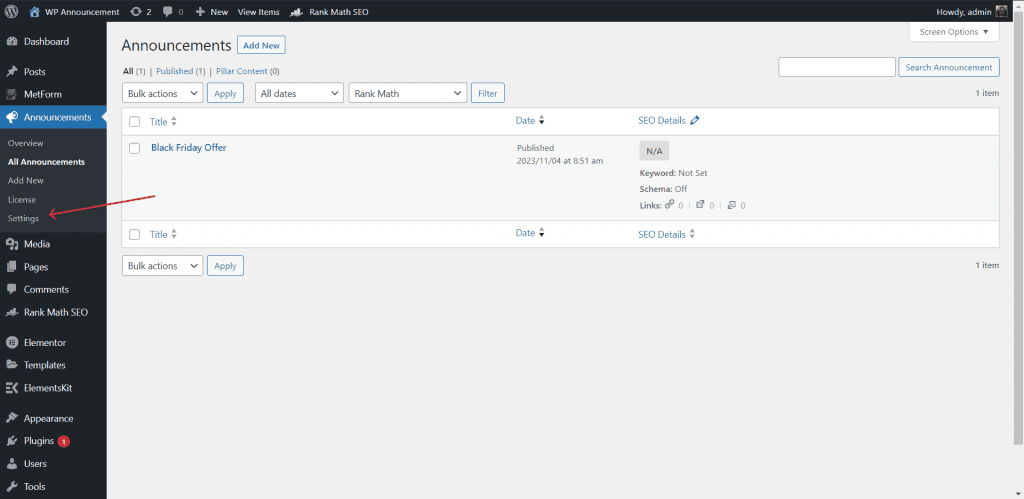
You can configure the plugin settings from this menu. Follow the steps to configure permission based on the user roles…
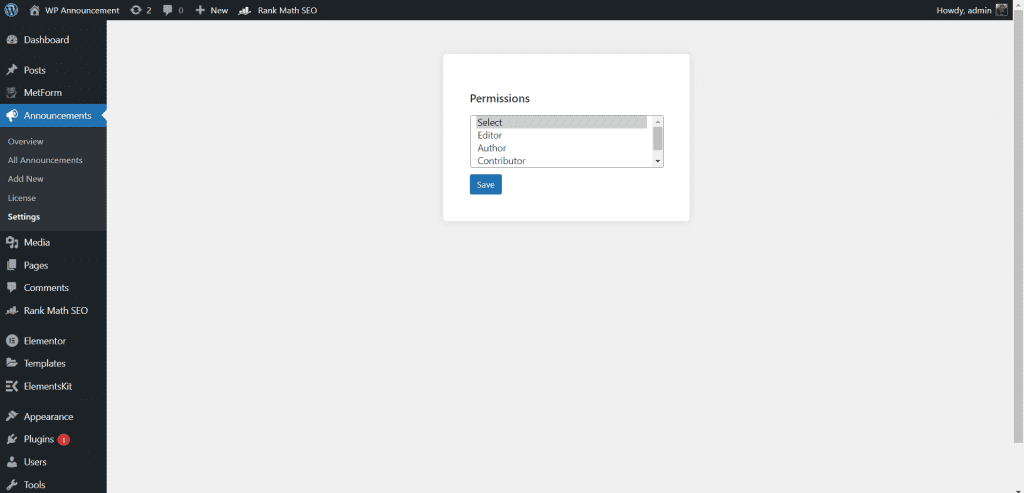
1. Navigate to Announcements → Settings
2. Select the Roles that you want to allow to manage the announcements. The users with selected roles will be able to create and update the announcements using their account. By default, only admin can manage the announcements.
7. Click Save to save the settings and you are done!
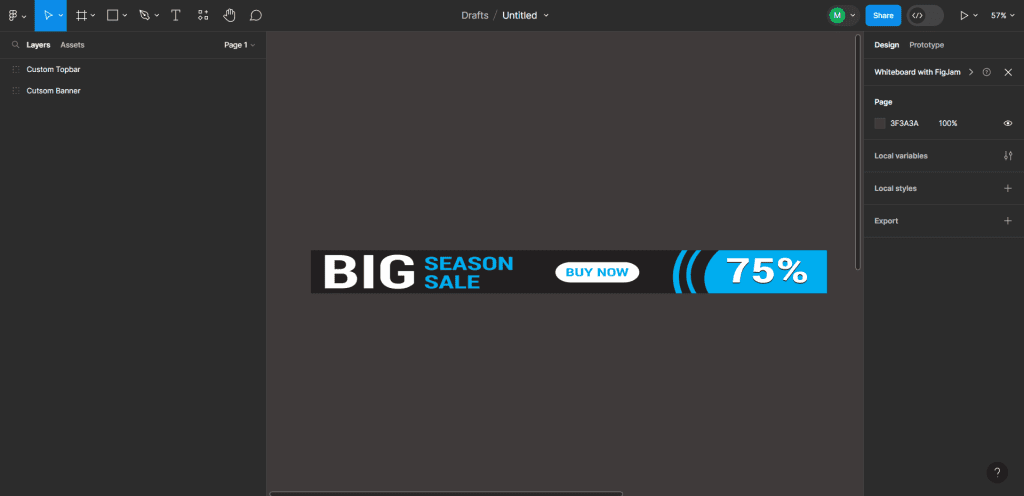
You can use your own custom designed topbar as the the layout of your announcement. But you must have to use the pro version to use this feature. It’s not available in the free version of our WP Announcement plugin. You can design the topbar using any graphic design tool like Figma, Adobe Photoshop, Adobe Illustrator, Canva or whatever you want. Follow the steps below to setup your own custom designed topbar….
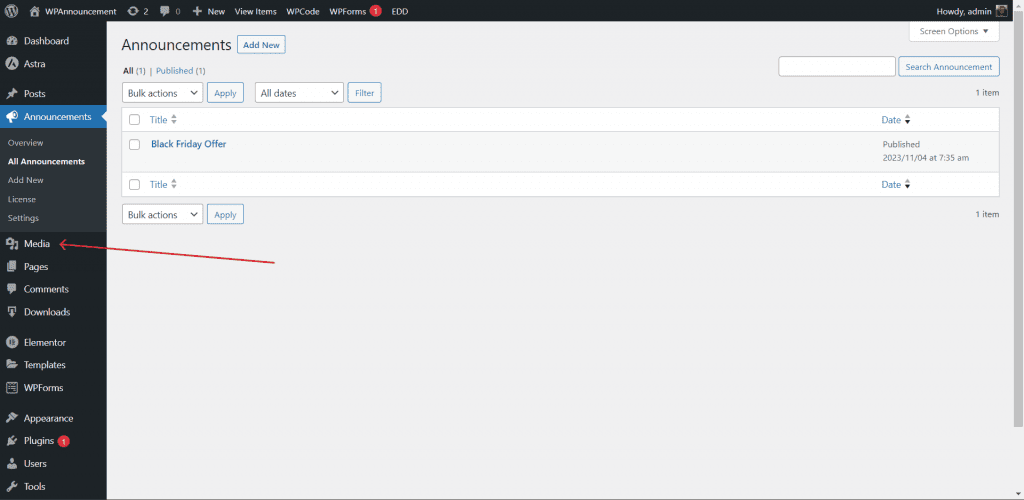
1. Save/Export your design as a png/jpeg file from the tool/application you designed it to your device.
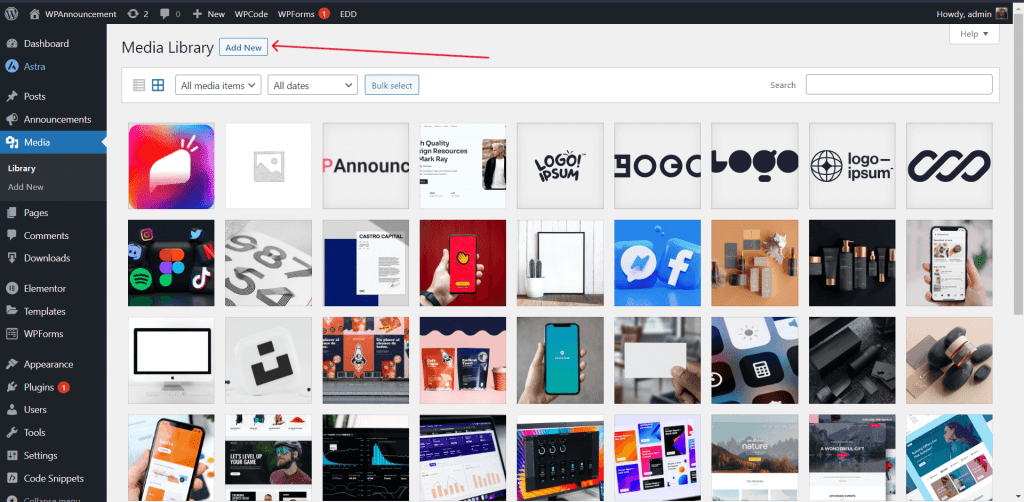
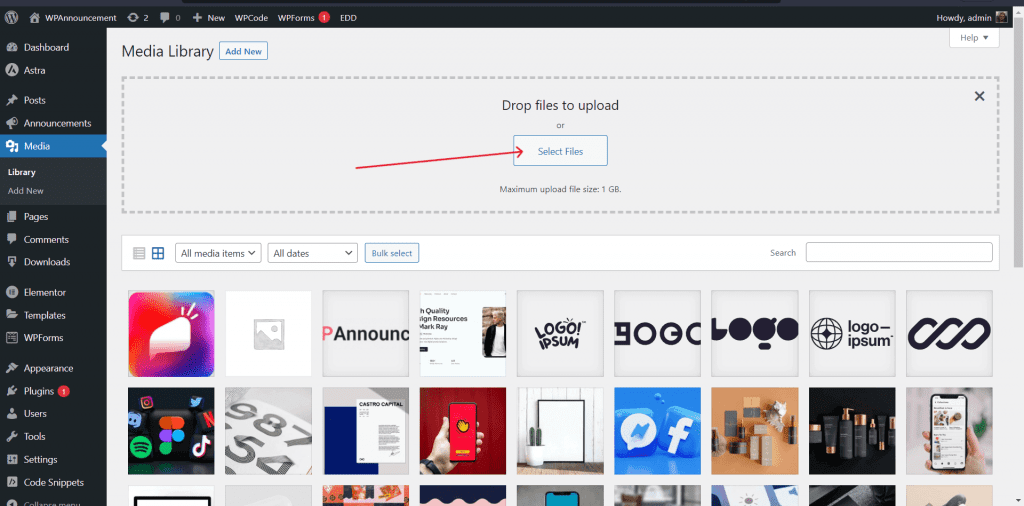
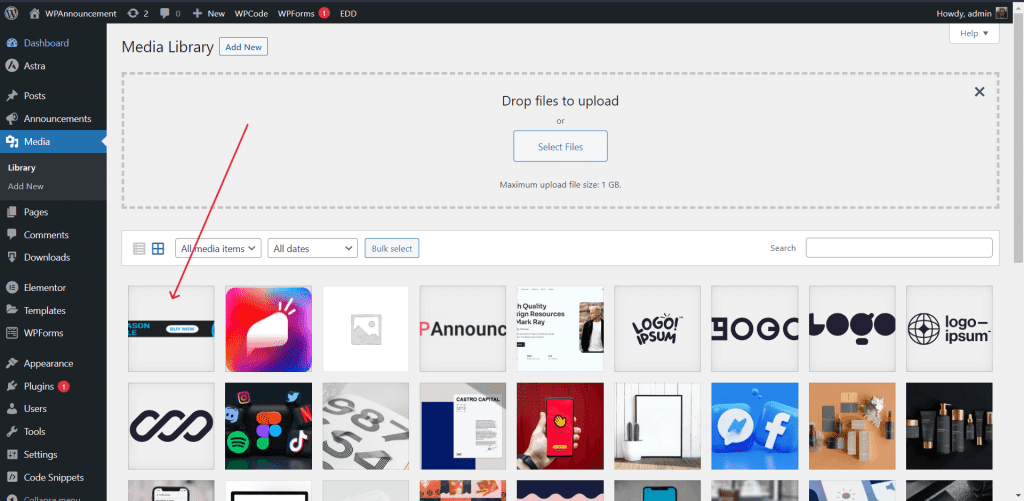
4. Upload your design file/image.
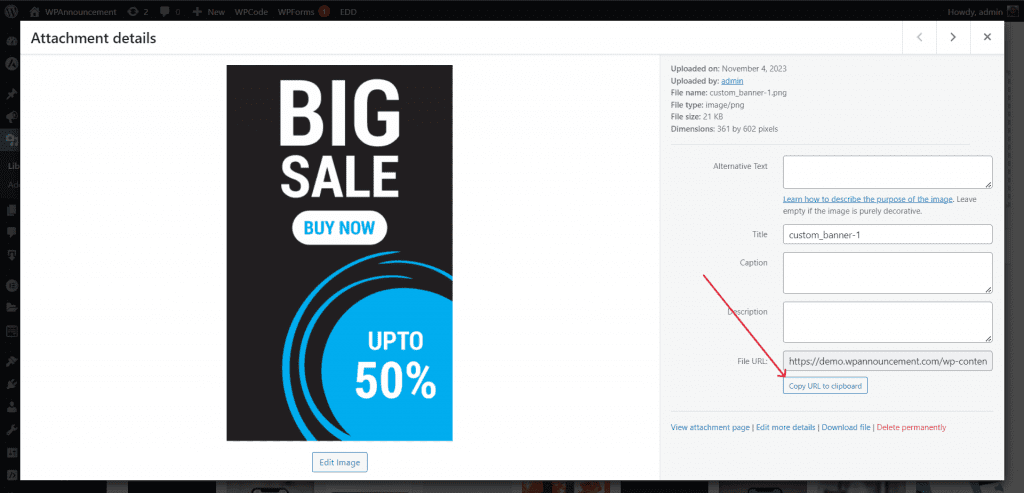
5. Click on your design file/image.
6. Click Copy URL to clipboard. to copy the url of the image.
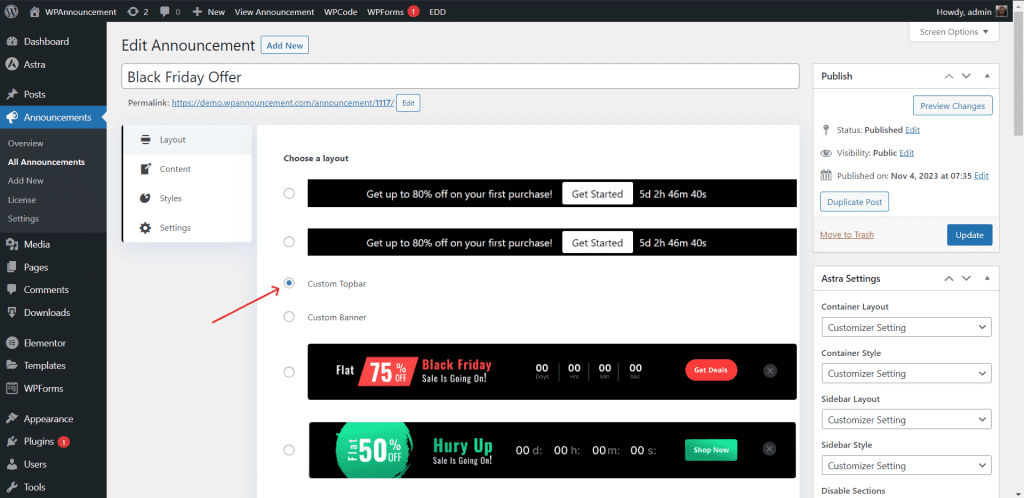
7. Select Custom Topbar as your layout option.
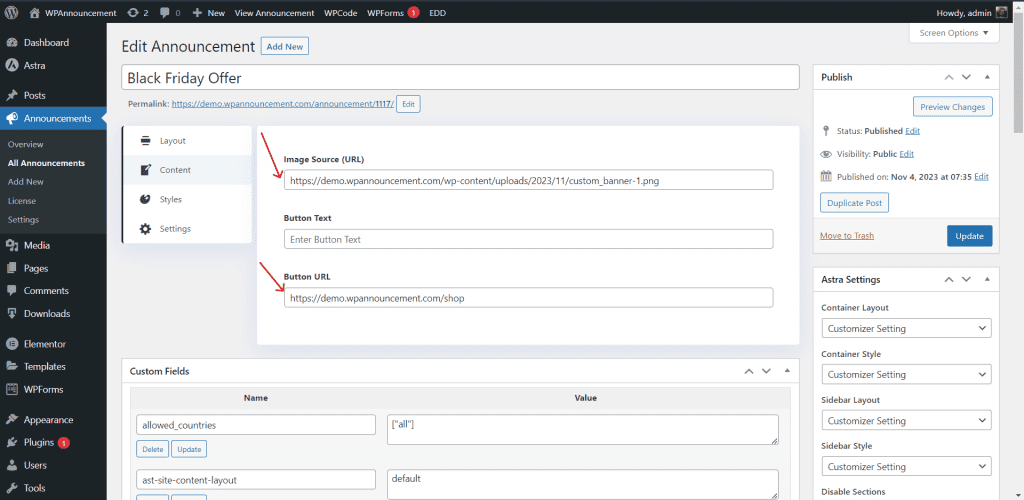
8. Paste the image URL into Image Source field.
9. Set the URL for the call to action. When the visitor click on this custom designed topbar, he/she will be redirected to this URL.
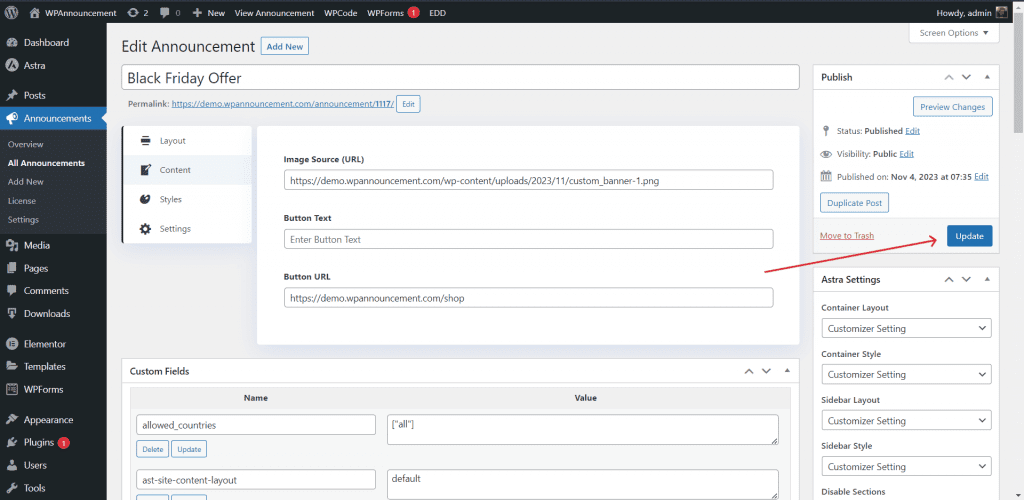
10. Click Update to save & publish it.
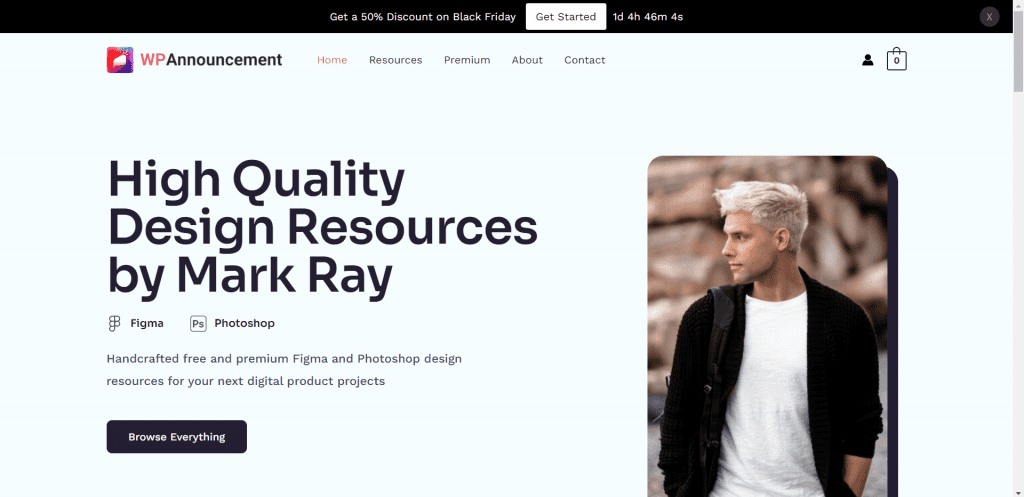
Now, your custom designed topbar will be visible to the visitors.
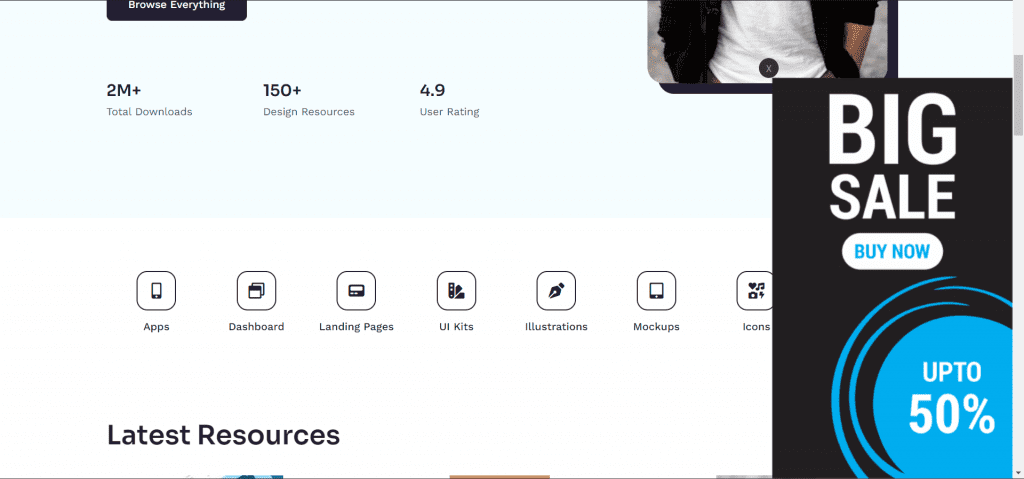
You can use your own custom designed banner as the the layout of your announcement. But you must have to use the pro version to use this feature. It’s not available in the free version of our WP Announcement plugin. You can design the banner using any graphic design tool like Figma, Adobe Photoshop, Adobe Illustrator, Canva or whatever you want. Follow the steps below to setup your own custom designed banner….
1. Save/Export your design as a png/jpeg file from the tool/application you designed it to your device.
4. Upload your design file/image.
5. Click on your design file/image.
6. Click Copy URL to clipboard. to copy the url of the image.
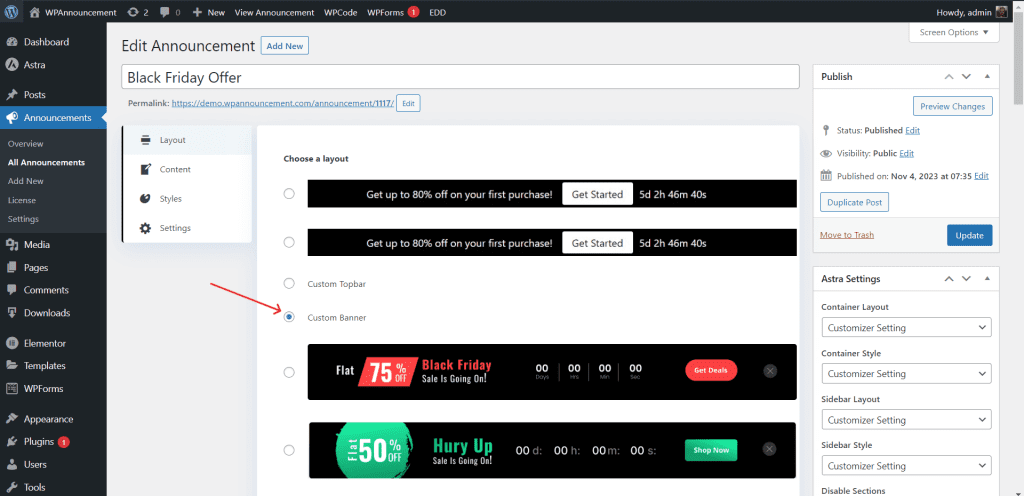
7. Select Custom Banner as your layout option.
8. Paste the image URL into Image Source field.
9. Set the URL for the call to action. When the visitor click on this custom designed banner, he/she will be redirected to this URL.
10. Click Update to save & publish it.
Now, your custom designed banner will be visible to the visitors.